
How to Choose the Right Paint Colour for Your Home: Tips & advice
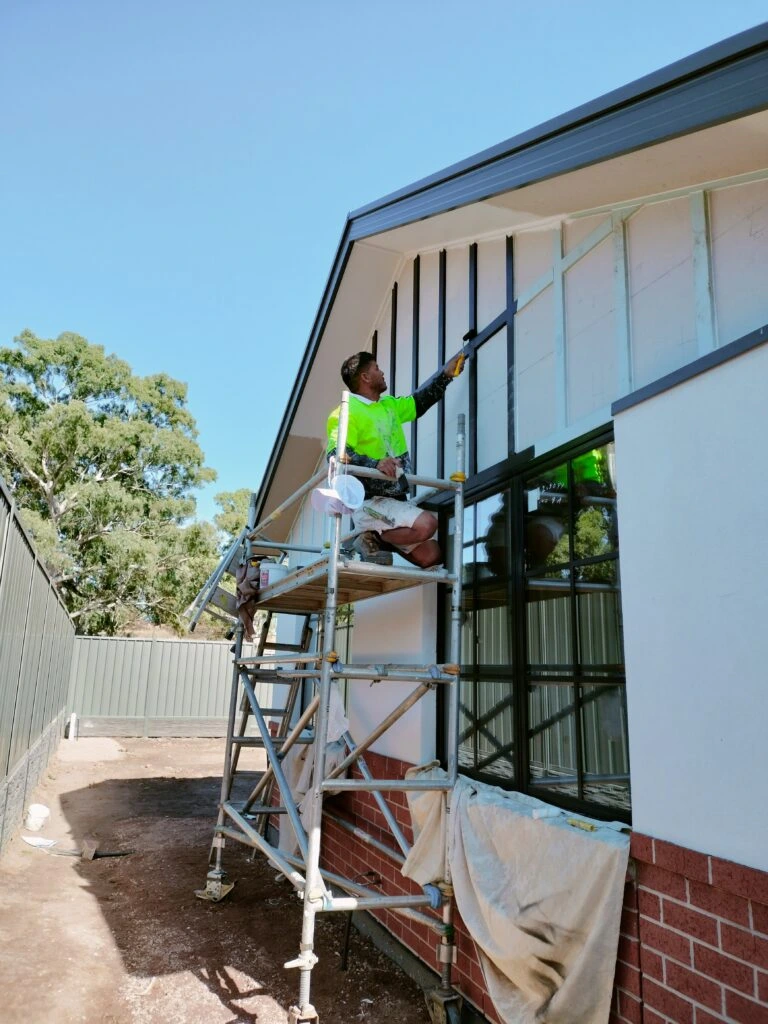
Home / How to Choose the Right Paint Colour for Your Home: Tips & Advice TABLE OF CONTENTS: Introduction Why Choosing the Right Paint Colour Matters How to Choose Paint Colour: Start With the Room Look at Natural Light Pay Attention to Undertones Consider the Size of the Room How to Choose Exterior Paint Colours Create a Colour Flow Between Rooms Test Paint Colours Before You Commit Feature Walls: When They Work and When They Don’t Painting Services in Adelaide Frequently Asked Questions Introduction Choosing a paint colour sounds simple until you stand in front of dozens of colour cards and realise that the difference between two shades can be surprisingly difficult to see. A white can look warm in one room and cool in another. A grey that looks sophisticated on a small colour card can appear completely different across a large wall. Even a colour you love in someone else’s home may not work the same way in your own space. So, how do you choose the right paint colour for your home? The answer is not simply to choose whatever colour is currently popular. The best colour depends on the amount of natural light, the size and purpose of the room, existing flooring and furniture, architectural features, exterior materials and the overall feeling you want to create. For Adelaide homeowners, there is another consideration: local homes can experience strong sunlight, changing weather and different levels of natural light depending on their orientation and surrounding buildings. This guide explains how to choose paint colour with a practical approach that you can actually use before buying your paint. You will learn how to assess your room, understand warm and cool colours, choose colours for different rooms, select exterior paint colours, avoid common mistakes and test your choices before committing to the final finish. Why Choosing the Right Paint Colour Matters Paint does more than cover a wall. Colour can change how a room feels, how large it appears and how other elements in the space are perceived. A pale neutral may make a smaller room feel more open, while a deeper colour can give a large room a more intimate atmosphere. Warm shades can introduce softness and comfort, while cooler colours can create a calmer, cleaner appearance. Colour can also influence how your existing furniture looks. A timber floor, for example, may bring out warmer tones in a wall colour. Grey cabinetry may make a paint colour with a blue undertone appear cooler than expected. Natural stone, brick, carpets, curtains and artwork can all influence how a colour is perceived. This is why choosing paint colours should start with the room rather than the colour card. Before deciding on a specific shade, look at the space as a whole. Ask yourself: How much natural light does the room receive? Which direction does it face? What furniture is already there? What colour is the flooring? Is the ceiling white or coloured? What mood do you want? Is the room used during the day or mainly at night? Does the colour need to connect with neighbouring rooms? Are there architectural features you want to highlight? These questions can narrow your choices considerably. Get Your Free Painting Quote How to Choose Paint Colour: Start With the Room One of the easiest mistakes is choosing a colour first and trying to make everything else work around it. A better approach is to start with what you already have. Look at your: Flooring Sofa Curtains Kitchen cabinets Benchtops Timber Tiles Artwork Rugs Light fittings Doors and trims If you are keeping most of these elements, your new wall colour needs to work with them. For example, if your home has warm timber floors, a very cool grey may create a disconnected appearance. A warmer neutral with a subtle beige or greige undertone could produce a more balanced result. On the other hand, a modern home with cool grey flooring, white cabinetry and plenty of natural light may work well with cooler neutrals. There is no single “best” colour. There is only the colour that works best with the particular space. Look at Natural Light Lighting is one of the biggest factors affecting paint colour. The colour you see on a sample card is not necessarily the colour you will see on the wall. Natural light changes throughout the day, while artificial lighting can change the appearance again at night. Dulux Australia also recommends testing colours in the actual space because natural and artificial lighting can significantly affect how a colour appears. Morning light Morning light can have a different character from afternoon light. A colour that looks soft and neutral in the morning may appear warmer or cooler later in the day depending on the room’s orientation and surrounding environment. Afternoon light Strong afternoon sunlight can make some colours appear brighter and more intense. This is particularly important in rooms that receive strong direct sunlight. Artificial light Don’t make your final decision based only on daylight. Turn on: Ceiling lights Downlights Floor lamps Table lamps Pendant lights Then look at the sample again. The type and colour temperature of your lighting can influence how the paint appears. A useful rule Never judge a paint colour from a tiny sample alone. Test it in the room where it will actually be used. Get Your Free Painting Quote Pay Attention to Undertones This is one of the most important parts of how to choose paint colour. Two colours may both appear to be white, beige or grey, but their undertones can make them look completely different. For example: White Warm white Cool white Neutral white Grey Blue-grey Green-grey Purple-grey Warm grey Beige Yellow-beige Pink-beige Grey-beige These subtle differences can become much more noticeable once the colour covers an entire wall. Why undertones matter Imagine choosing a neutral grey for a room with warm timber flooring. If the grey has a strong blue undertone, the contrast may be more obvious than expected. Alternatively, a warm greige
Why Does Paint Peel? Common Causes and How to Prevent It
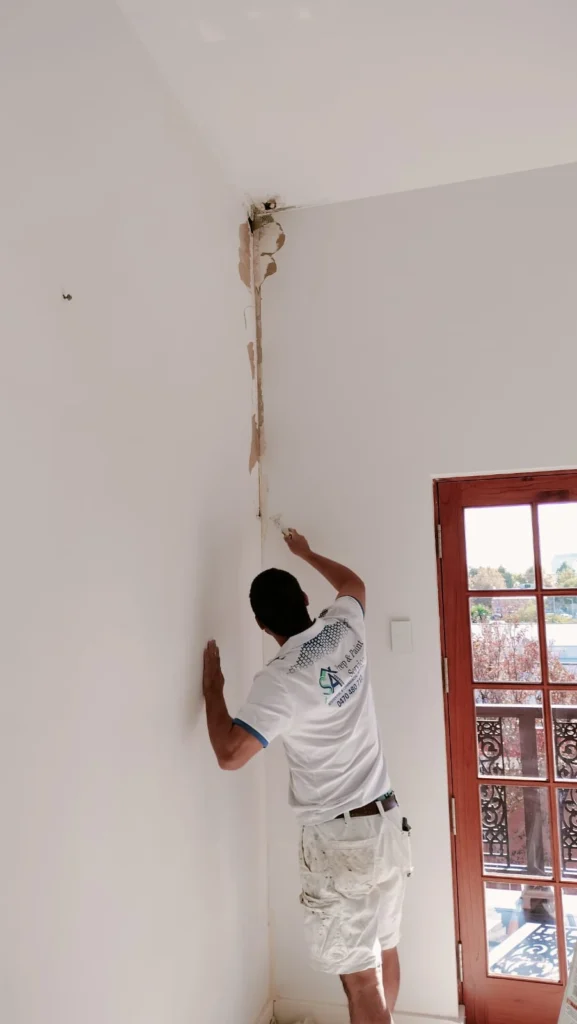
Home / Why Does Paint Peel? Common Causes and How to Prevent It TABLE OF CONTENTS: Why Does Paint Peel? Common Causes of Peeling Paint 1. Moisture and Water Damage 2. Poor Surface Preparation 3. Painting Over Old or Unstable Paint 5. Painting Over Glossy Surfaces 8. Temperature and Weather Conditions Different Types of Peeling Paint Example: Why Paint Can Peel in One Area but Not Another DIY Repair vs Professional Painting Painting Services for Peeling and Damaged Surfaces Frequently Asked Questions Why does paint peel? In most cases, peeling paint is a sign that the coating has lost adhesion to the surface underneath. Moisture is one of the most common causes, but it is not the only one. Poor surface preparation, painting over unstable old coatings, dirt or grease, glossy surfaces, unsuitable primers, damp substrates and harsh weather conditions can all contribute to paint failure. The location of the peeling can also tell you a lot. Paint coming away from a bathroom ceiling may point towards moisture or poor ventilation, while peeling around an exterior window could indicate water getting behind the coating. On the other hand, widespread flaking across an older wall may simply mean the existing coating has deteriorated and needs proper preparation before repainting. For Adelaide homes, these issues can be particularly noticeable on exterior surfaces exposed to strong sunlight, heat, wind, dust and changing weather conditions. The important thing is not to simply cover peeling paint with another coat. The visible damage is often a symptom of a deeper problem. Identifying the cause first gives you a much better chance of achieving a durable result. This guide explains why paint peels, how to identify the likely cause, how peeling paint can be repaired and what you can do to prevent it from returning. Common Causes of Peeling Paint There is rarely one universal explanation for peeling paint. The cause depends on the surface, location, age of the coating, previous preparation and environmental conditions. Below are some of the most common causes homeowners encounter. Moisture and Water Damage Moisture is one of the first things to investigate when paint starts peeling. Water can reach a painted surface in several ways, including: Plumbing leaks Roof leaks Damaged gutters Poor drainage Failed sealants Cracks around openings Water entering through exterior walls Condensation Bathroom humidity Poorly sealed windows Once moisture gets beneath a paint film, it can interfere with adhesion. Depending on the substrate and coating, the surface may swell, blister, soften or deteriorate. Eventually, the paint can begin to lift away. What Does Moisture-Related Peeling Look Like? You may notice: Bubbling or blistering Yellow or brown stains Soft or damaged areas Peeling around windows Peeling near ceilings Mould or mildew A musty smell Repeated peeling in exactly the same location If you repaint an affected area and it starts peeling again relatively quickly, that is a reason to investigate further. The problem may not be the new paint at all. There could be an unresolved source of moisture behind or around the coating. Australian Government health guidance also emphasises controlling dampness and moisture and addressing building faults such as leaks when dealing with moisture and mould concerns. If your property has a roof or drainage issue contributing to exterior deterioration, professional roof painting services may be part of a broader maintenance solution, although the underlying leak itself should be repaired before painting. Get Advice on Peeling Paint Poor Surface Preparation A fresh coat of paint cannot turn an unstable surface into a stable one. Good preparation is one of the most important parts of a painting project. Depending on the condition of the surface, preparation may include: Cleaning Scraping Sanding Filling Repairing cracks Removing loose material Allowing damp areas to dry Priming Sealing where appropriate If loose or poorly bonded paint is left underneath a new coating, the new paint may adhere to the unstable layer rather than to a sound surface. That can create a problem months later. A Simple Example Imagine an exterior wall with several patches of flaking paint. Instead of removing the loose material, someone applies another coat over the entire wall. At first, the result looks fresh. But the new paint has not corrected the weak bond underneath. As the old coating continues to move or separate, the new coating can fail along with it. This is why surface preparation often has more influence on the long-term result than simply adding another coat of paint. If a wall needs substantial preparation before repainting, professional wall painting services can be useful where scraping, repairs, sanding and coating preparation are required. Painting Over Old or Unstable Paint Old paint is not automatically a problem. A previous coating can sometimes remain suitable for repainting if it is sound, well bonded and properly prepared. The problem starts when the existing coating is already: Peeling Flaking Bubbling Cracked Powdery Chalking Poorly bonded Contaminated Painting over unstable paint may hide the problem for a while, but it does not make the underlying coating stable. If the old layer continues to separate, the new layer may eventually separate with it. Before repainting, the existing surface should therefore be assessed rather than assuming that every old coating needs either complete removal or immediate overcoating. The right approach depends on the condition of the existing paint and the substrate beneath it. What’s Causing My Peeling Paint? Painting Over Glossy Surfaces Glossy paint has a smooth, hard finish that can make adhesion more difficult for a new coating. If a new water-based or other compatible coating is applied directly over a hard glossy surface without suitable preparation, the new paint may not develop the bond required for long-term performance. Depending on the existing coating and the new paint system, preparation may involve: CleaningDegreasingSanding or deglossingRemoving loose materialApplying a suitable bonding primer The exact preparation should be based on the surface and manufacturer’s recommendations. Simply adding another coat does not automatically solve an adhesion problem. Request Your Free Quote Today Temperature and Weather
How Many Coats of Paint Do You Really Need?
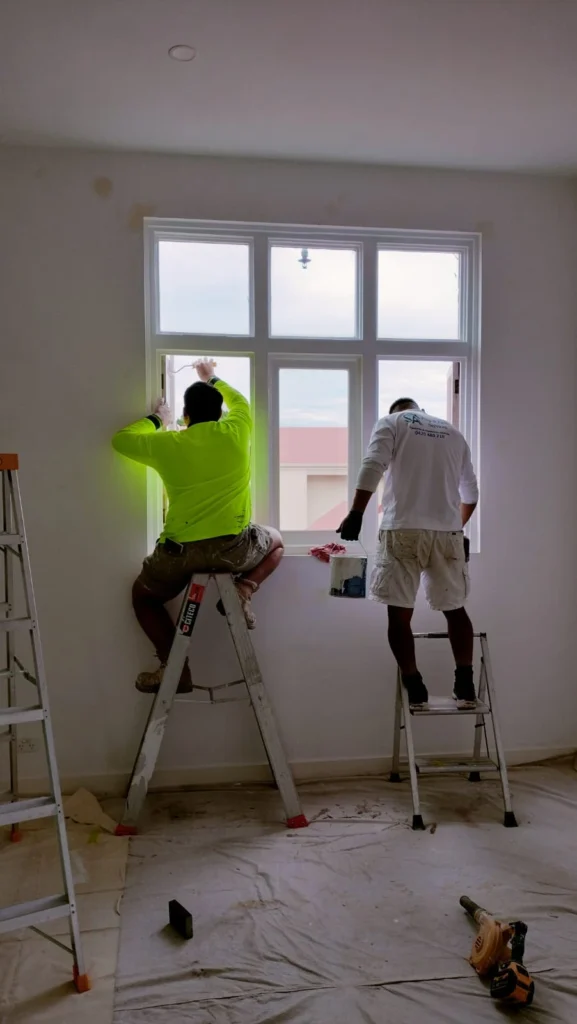
Home / How Many Coats of Paint Do You Really Need? TABLE OF CONTENTS: How Many Coats of Paint Do You Need Is Two Coats of Paint Always Necessary? When Is One Coat of Paint Enough? When Do You Need Three Coats? How Many Coats of Paint Do New Walls Need? How Many Coats Do Previously Painted Walls Need? Interior vs Exterior Painting Common Painting Mistakes One Coat vs Two Coats vs ThreeCoats When Should You Hire Professional Painters? Final Thoughts Frequently Asked Questions How Many Coats of Paint Do You Need? For many standard painting projects, two finish coats are a sensible starting point. However, the actual number depends on the surface and the product being used. Painting situation Typical approach Existing wall, similar colour 1–2 finish coats Existing wall, new colour Usually 2 finish coats New plaster Primer/sealer + finish coats New plasterboard Sealer/undercoat + finish coats Dark colour to light colour Suitable undercoat/primer + finish coats Light colour to dark colour Usually 2 finish coats Stained wall Stain treatment/primer + finish coats Repaired wall Spot priming + finish coats Exterior wall Preparation + suitable exterior coating system Feature wall Usually 2 finish coats Ceiling Often 2 coats depending on product and condition These are general guidelines rather than fixed rules. Paint manufacturers specify coverage and recommended coats for individual products. Dulux Australia’s preparation guidance, for example, says to consider the surface area, the product’s coverage rate and the number of coats specified on the paint can when calculating how much paint is required. So, rather than asking only “How many coats should I apply?”, a better question is: “What coating system does this particular surface require?” Is Two Coats of Paint Always Necessary? No. However, two coats of paint are commonly used because they provide a more consistent finish and better colour coverage than relying on a single application in many situations. The first coat establishes the initial coverage. After it dries, you can often see areas where: the previous colour is still showing the surface has absorbed paint differently repairs remain visible the finish isn’t completely uniform roller marks or overlaps are noticeable The second coat helps even out these differences. Why two coats can produce a better result Two finish coats can help improve: colour consistency coverage visual uniformity finish quality appearance under different lighting overall professional appearance However, applying a second coat doesn’t compensate for poor preparation. If the wall is dirty, peeling, cracked or affected by moisture, simply adding another coat of paint won’t solve the underlying problem. Get Your Free Painting Quote When Is One Coat of Paint Enough? There are situations where one coat may be enough. For example, consider a wall that is: already painted clean dry in good condition a similar colour to the new paint free from stains free from peeling or flaking paint Depending on the product, one coat may provide acceptable coverage. However, homeowners should distinguish between technical coverage and a consistent finished appearance. A wall may appear covered after one coat but still show subtle differences in colour or sheen. Before deciding to stop after one coat, allow the paint to dry completely and inspect the wall under normal room lighting. When one coat may work One coat may be suitable for: minor colour refreshes small touch-ups repainting a similar colour surfaces already in excellent condition certain products specifically designed for one-coat coverage Always follow the instructions for the particular paint product. When Do You Need Three Coats? Three applications may sometimes be necessary, but this doesn’t necessarily mean three finish coats. For example: 1 primer/sealer + 2 finish coats is different from: 3 finish coats. Additional preparation may be needed when: Changing from a very dark colour to a light colour A strong dark colour can be difficult to cover evenly with a light topcoat. A suitable undercoat can help create a more uniform base. Painting over stains Water marks, smoke, grease and other stains may migrate through ordinary paint. A suitable stain-blocking product may be required. Painting new or porous surfaces New plaster and other porous substrates can absorb paint unevenly. A suitable sealer or primer helps prepare the surface. Painting repaired areas Filler and repaired sections can absorb paint differently from the surrounding wall. Priming those areas can help reduce visible differences. The goal isn’t to keep adding coats until the problem disappears. The goal is to use the correct preparation and coating system. Get Your Free Painting Quote How Many Coats of Paint Do New Walls Need? This is one of the most important questions homeowners ask. New walls generally need more preparation than previously painted walls. A new plaster, plasterboard or other porous surface can absorb paint differently from an already sealed and painted wall. A typical process may involve: Inspecting the surface Filling imperfections Sanding Removing dust Applying a suitable sealer or primer Applying the first finish coat Allowing the required drying/recoat time Applying the second finish coat Inspecting and touching up Dulux Australia recommends a sealer/undercoat for bare, unpainted walls and ceilings in good condition, while specific products can have different preparation requirements. Why new walls need special attention Fresh surfaces can have: high porosity jointing compound different levels of absorption minor imperfections exposed substrate For example, Dulux’s Acrylic Sealer Undercoat guidance notes that paper-faced plasterboard and joining compound can have different textures and may require additional preparation or a second coat of the sealer/undercoat where extra smoothness is needed. So if you’re asking how many coats of paint for new walls, don’t simply count the finish coats. Think about the entire preparation and painting system. Request Your Free Quote Today Painting Over Old or Unstable Paint Old paint is not automatically a problem. A previous coating can sometimes remain suitable for repainting if it is sound, well bonded and properly prepared. The problem starts when the existing coating is already: Peeling Flaking Bubbling Cracked Powdery Chalking Poorly bonded Contaminated Painting over unstable paint may hide