
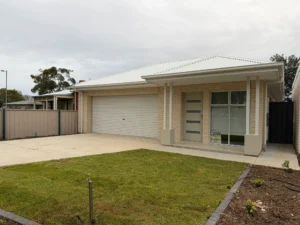
Exterior painting requires suitable weather conditions to achieve a smooth, durable finish. Learn how temperature, humidity, rainfall, wind and sunlight...
How to Prepare Walls for Painting: An Adelaide Homeowner’s Guide
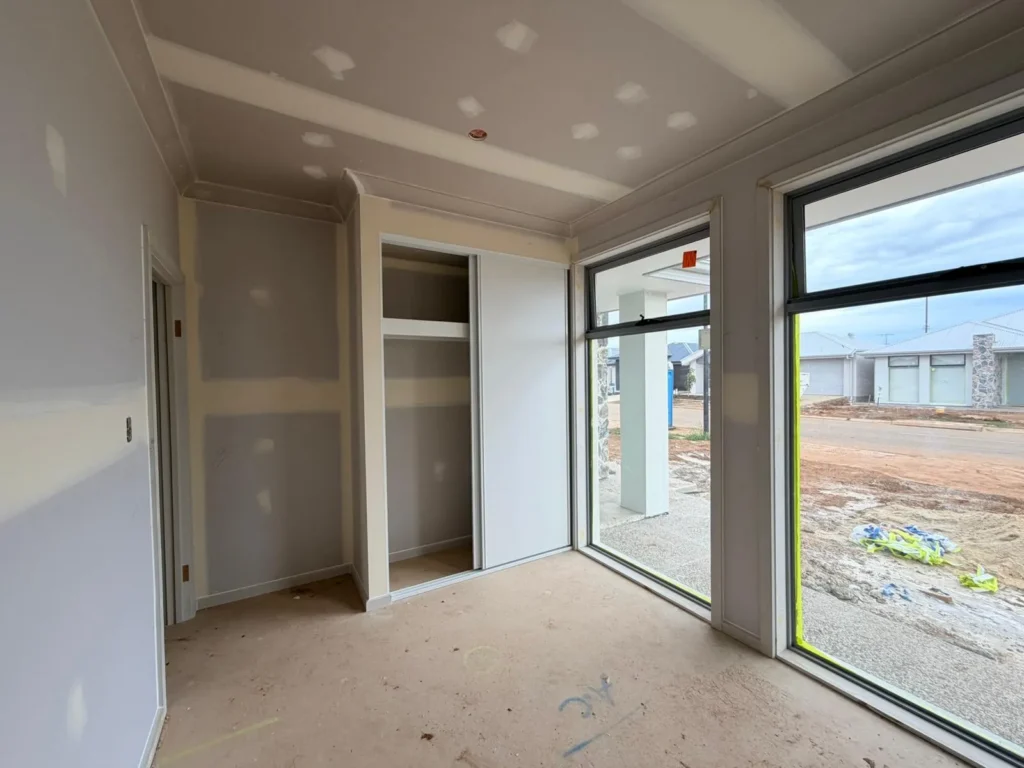
TABLE OF CONTENTS:
- How to Prepare Walls for Painting
- Why Is Wall Preparation Important?
- Complete Guide to Preparing Walls Before Painting in Adelaide
- How to Prepare Different Types of Walls
- Common Wall Preparation Problems
- DIY Wall Preparation vs Professional Preparation
- Mistakes to Avoid When Preparing Walls
- How Long Does Wall Preparation Take?
- When Should You Hire Professional Painters?
- Frequently Asked Questions
How to Prepare Walls for Painting
Knowing how to prepare walls for painting involves more than simply wiping down the surface and applying a new colour.
Depending on the existing condition of the wall, preparation may include:
Inspecting the wall
Cleaning dirt and dust
Removing loose paint
Scraping peeling areas
Filling holes
Repairing cracks
Sanding rough surfaces
Smoothing previous repairs
Treating suitable stains
Priming selected areas
Removing sanding dust
Protecting floors and fixtures
The amount of preparation required depends on the condition of the existing wall.
A recently painted wall in good condition may need relatively little preparation. An older wall with peeling paint, cracks, holes or previous patching can require considerably more work.
The goal is not to prepare every wall in exactly the same way. Instead, how to prepare walls for painting depends on the condition of the existing surface and the type of coating being applied.
Why Is Wall Preparation Important?
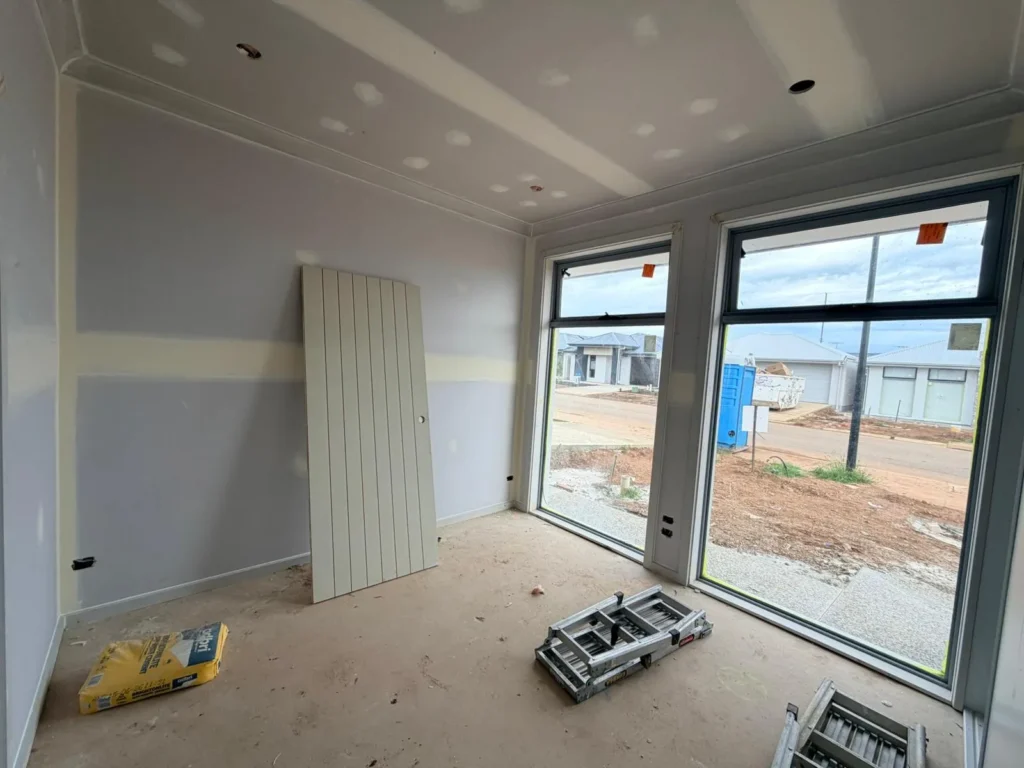
Wall preparation helps create a suitable surface for the new paint.
When walls are dirty, damaged or covered with loose existing coatings, simply applying new paint may not solve the underlying surface problems.
For example, painting directly over:
Peeling paint
Dust
Grease
Loose material
Unfilled holes
Cracked areas
Poorly sanded repairs
can affect the appearance and durability of the finished coating.
Proper preparation can help reduce visible imperfections and provide a more consistent surface for painting.
It can also make colour application more predictable because the new coating is being applied to a surface that has been appropriately prepared.
This is one reason professional painting projects often include preparation as an important part of the overall scope.
If you are considering professional residential painting, you can also explore our residential painting services in South Australia.
Complete Guide to Preparing Walls Before Painting in Adelaide
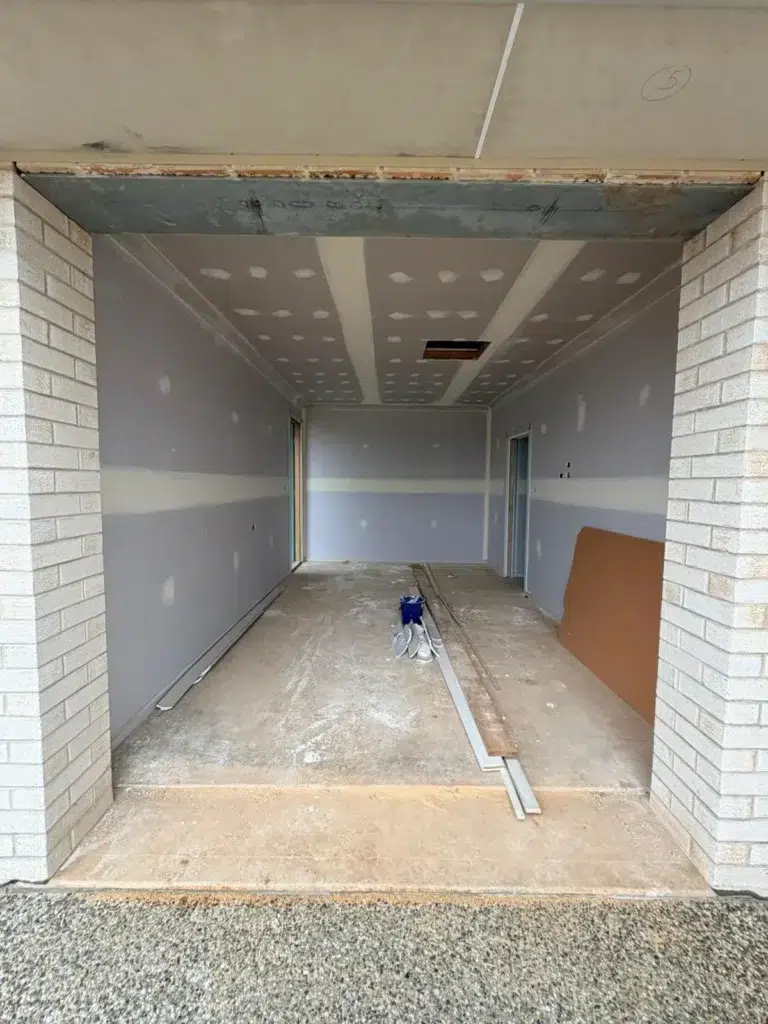
Step 1: Inspect the Walls
Check the entire surface for:
- Peeling or bubbling paint
- Cracks and holes
- Stains and moisture
- Dirt and grease
- Previous repairs
- Uneven or glossy areas
Good lighting can help reveal imperfections that may become visible after painting.
Step 2: Remove Furniture and Protect the Area
Move furniture away from the walls and remove pictures, mirrors and decorations.
Protect floors, furniture and fixtures that cannot be removed. Sanding and repairs can create dust, so preparation helps keep the work area clean.
Step 3: Clean the Walls
Remove dust, dirt, grease and other surface contaminants.
Kitchen walls and high-touch areas may need additional cleaning. Avoid excessive moisture, especially where the wall has existing moisture concerns.
Step 4: Remove Loose or Peeling Paint
Do not paint directly over loose or peeling paint.
Remove unstable areas and check why the coating has failed. Moisture, poor preparation or previous coating problems may need to be considered.
Step 5: Identify Cracks, Holes and Damage
Look for:
- Nail holes
- Cracks
- Larger holes
- Damaged plaster
- Previous patch repairs
Larger or recurring cracks should be assessed rather than simply covered.
Step 6: Repair Surface Imperfections
Fill suitable holes and repair damaged areas as required.
Allow repairs to dry before sanding and further preparation. Properly smoothing repaired areas can help prevent patches from remaining visible after painting.
Step 7: Sand the Walls
Sand suitable surfaces to smooth repairs and minor imperfections.
Not every wall needs to be sanded back to bare material. The existing coating can often remain if it is sound and suitable for repainting.
Remove all sanding dust before painting.
Step 8: Prepare Glossy or Difficult Surfaces
Glossy or hard surfaces may require additional preparation before painting.
The appropriate method depends on the existing coating and the new paint system. If you are unsure, discuss the surface with your painter.
Step 9: Check for Stains and Moisture
Look for:
- Water stains
- Smoke marks
- Grease
- Crayon marks
- Previous leaks
If moisture or an active leak is present, address the underlying problem before repainting.
Step 10: Prime Where Required
Primer or sealer may be appropriate for repaired areas, bare surfaces, stains, porous substrates or certain colour changes.
The correct approach depends on the surface and coating system.
For more information, see our guide to primer before painting.
Step 11: Remove Dust Before Painting
After sanding and repairs, remove remaining dust from:
- Corners
- Skirting
- Window surrounds
- Door frames
- Repaired areas
A clean surface provides a better starting point for painting.
Step 12: Protect Fixtures, Floors and Trim
Before painting, protect areas that are not being painted, including:
- Floors
- Windows
- Doors
- Cabinets
- Light fittings
- Furniture
- Other fixtures
Proper protection helps keep the work area organised and reduces the risk of unwanted paint or preparation materials reaching surrounding surfaces.
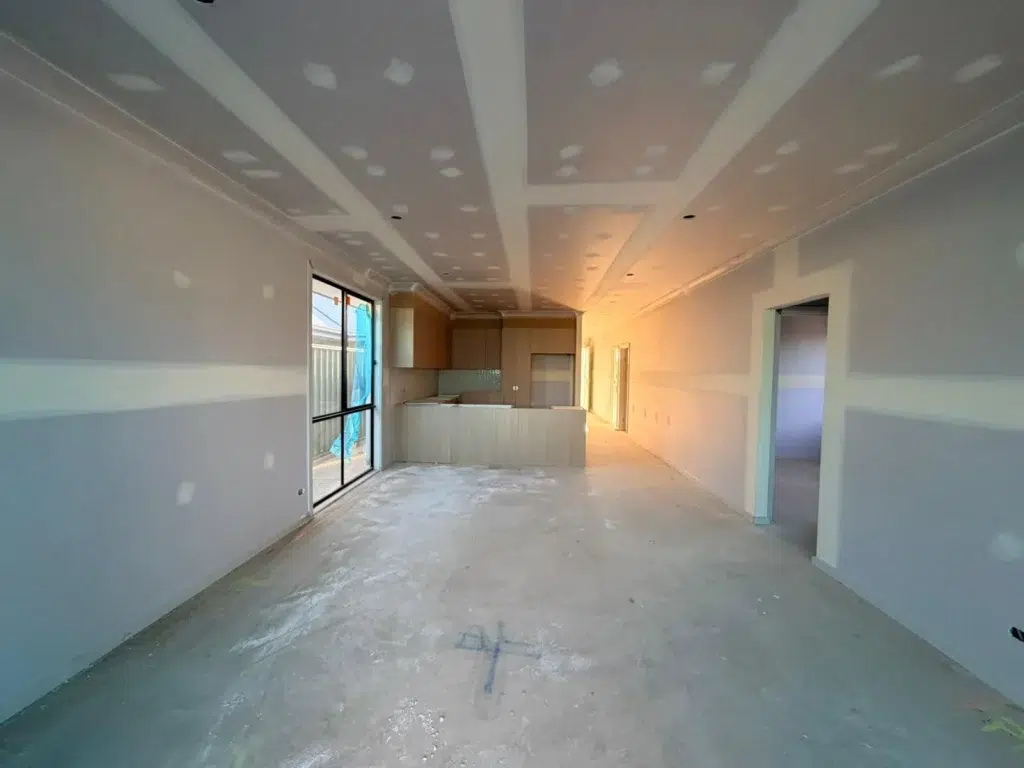
How to Prepare Different Types of Walls
Not all walls require exactly the same preparation.
Previously Painted Walls
Previously painted walls should be inspected for:
Loose paint
Cracks
Dirt
Glossy sections
Previous repairs
Stains
If the existing coating is sound, extensive removal may not be necessary.
The preparation approach depends on the condition and compatibility of the existing surface.
Plaster Walls
Plaster surfaces may require attention to:
Cracks
Holes
Previous repairs
Uneven areas
Surface dust
Repairs should be allowed to dry appropriately before sanding and further preparation.
Newly Repaired Walls
Newly repaired sections can absorb paint differently from surrounding areas.
These areas may require appropriate preparation before the finish coat is applied.
This is one reason small repairs should not simply be painted immediately after filling.
Textured Walls
Textured surfaces require careful assessment because the texture itself forms part of the finished appearance.
Preparation should avoid unnecessarily damaging the existing texture.
The painting approach depends on the type and condition of the surface.
Kitchen Walls
Kitchen walls may require additional cleaning because of grease and cooking residue.
A clean surface is particularly important before repainting these areas.
Bathroom Walls
Bathrooms should be checked carefully for:
Moisture
Peeling coatings
Staining
Surface damage
Ventilation issues
If there is an underlying moisture problem, that issue should be considered before repainting.
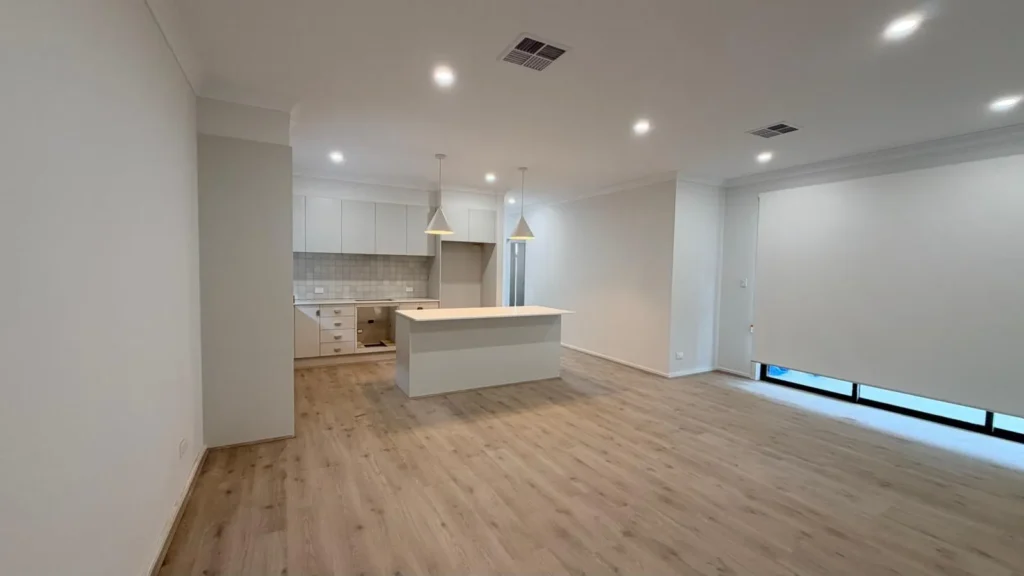
Common Wall Preparation Problems
Some wall problems are easy to identify, while others require closer inspection.
Peeling Paint
Peeling can indicate a problem with the existing coating or the surface beneath it.
Loose areas may need to be removed and the surface prepared before repainting.
Cracks
Small surface cracks may require appropriate filling and preparation.
Larger, recurring or structural-looking cracks should be investigated rather than simply covered.
Holes
Holes from wall fixtures can usually be addressed as part of preparation, depending on their size and condition.
Water Stains
Water stains should be assessed carefully.
If the source of the moisture remains active, repainting alone may not solve the problem.
Grease
Grease and cooking residue can affect paint adhesion and should be appropriately cleaned before painting.
Uneven Repairs
A patch that has not been properly sanded can remain visible after painting.
This is why preparation should include checking repairs from different angles and under suitable
DIY Wall Preparation vs Professional Preparation
Some homeowners choose to prepare their walls themselves before painting.
This can work for straightforward projects, but the right approach depends on the condition and size of the property.
| DIY Wall Preparation | Professional Preparation |
|---|---|
| Homeowner provides the labour | Professional team handles preparation |
| Flexible timing | Organised project schedule |
| Lower direct labour cost | Labour included in project scope |
| Homeowner assesses wall condition | Experienced assessment |
| Tools must be arranged | Appropriate equipment can be supplied |
| Repairs may be limited by experience | More extensive preparation can be assessed |
| Homeowner handles dust and clean-up | Clean-up can form part of the service |
DIY preparation may be suitable when the walls are already in good condition and the homeowner is comfortable completing the work.
Professional preparation may be more appropriate for larger homes, damaged walls, extensive repairs or projects where the final finish is particularly important.
You can also read our guide on why hire professional house painters before deciding how you want to approach your project.
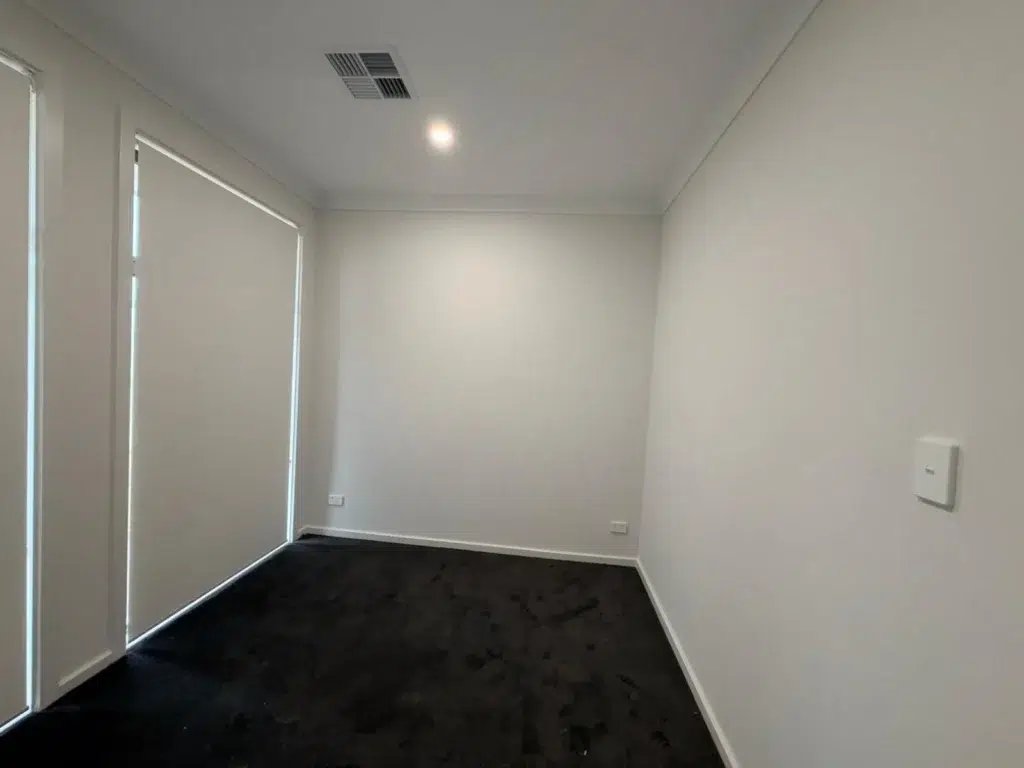
Mistakes to Avoid When Preparing Walls
Avoiding common preparation mistakes can make the painting process more straightforward.
1. Painting over peeling paint
New paint cannot reliably solve an unstable existing coating.
2. Ignoring cracks
Small imperfections can become more visible after painting.
3. Skipping cleaning
Dust and grease can affect the painting process.
4. Painting over wet repairs
Repair materials should be appropriately dry before further preparation or painting.
5. Leaving sanding dust behind
Dust should be removed before painting.
6. Ignoring moisture
If moisture is causing damage, painting alone may not address the underlying problem.
7. Assuming every wall needs the same preparation
A clean bedroom wall and a damaged kitchen wall may require very different preparation.
8. Rushing the preparation stage
Good preparation takes time.
Trying to save time by skipping necessary steps can affect the final appearance.
9. Applying paint before confirming the surface
The wall should be inspected again before painting begins.
10. Failing to protect surrounding areas
Floors, fixtures and furniture should be protected where necessary.
How Long Does Wall Preparation Take?
There is no single preparation timeframe for every Adelaide home.
A small room with clean, sound walls may require relatively little preparation.
An older property with:
Peeling paint
Multiple cracks
Previous repairs
Stains
Damaged plaster
Heavy dirt
Difficult access
can require substantially more preparation.
The preparation time depends on:
Number of walls
Wall condition
Amount of damage
Number of repairs
Surface type
Number of rooms
Access
Required sanding
Cleaning requirements
Drying time for repairs
Preparation should therefore be assessed as part of the overall painting project rather than treated as a fixed number of hours.
When Should You Hire Professional Painters?
Professional assistance may be useful when your walls require more than basic cleaning and minor preparation.
Consider getting professional advice if you have:
Extensive peeling paint
Large cracks
Significant wall damage
Multiple repair areas
Water staining
Difficult-to-access walls
Large rooms
High ceilings
Multiple rooms
A whole-house repaint
Interior and exterior painting requirements
A professional painter can assess the existing surfaces and determine what preparation is required before painting.
For homeowners looking for professional house painters in Adelaide, SA Prep and Paint provides residential painting services across Adelaide and surrounding areas.
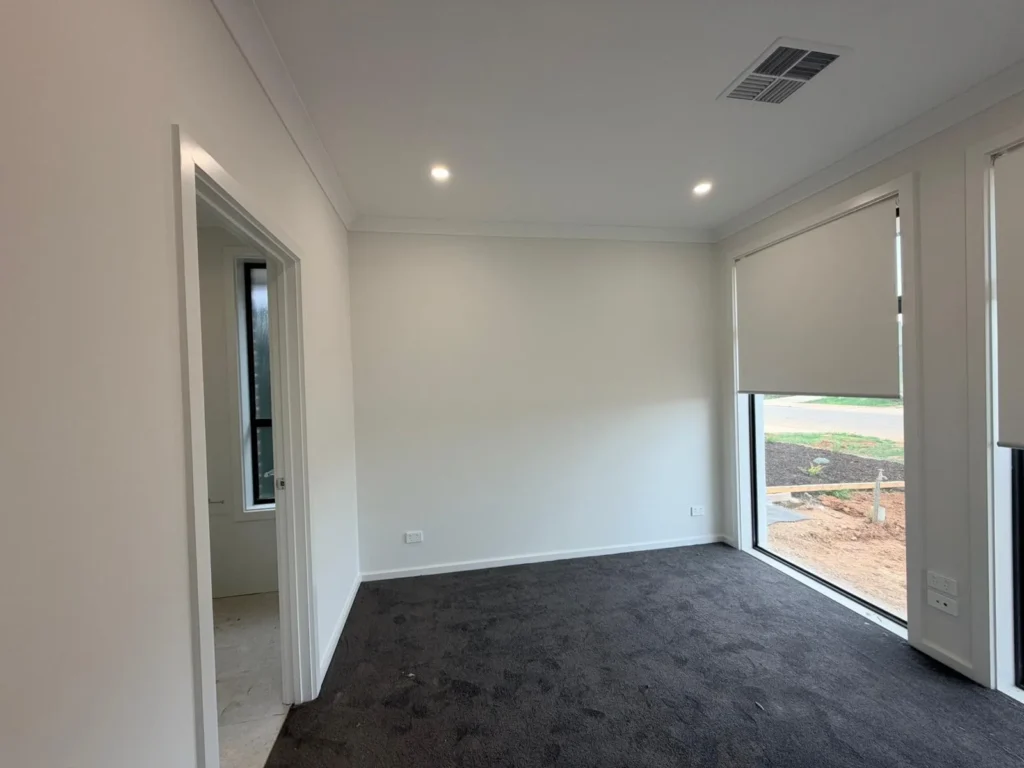
Recent Posts
How to Prepare Walls for Painting: An Adelaide Homeowner’s Guide
Learn how to prepare walls for painting in Adelaide with simple steps for cleaning, repairing, sanding and priming surfaces to...
How to Choose the Right Paint Finish for Every Room in Your Adelaide Home
Learn how to choose the right paint finish for every room in your Adelaide home, from living rooms and bedrooms...
Interior vs Exterior Paint: What Adelaide Homeowners Need to Know
Learn the key differences between interior and exterior paint, including durability, weather resistance, finishes and surface requirements. Discover how Adelaide...
+61 470 480 710
Contact and Whatsapp
saprepandpaintservices@outlook.com
contact us, we are available 24/7
Frequently Asked Questions
How do you prepare walls before painting?
Wall preparation can include inspection, cleaning, removal of loose paint, filling holes, repairing suitable cracks, sanding, addressing stains, priming where required and removing dust before painting.
Do walls need to be cleaned before painting?
In many situations, yes. Dust, dirt, grease and other contaminants can affect the painting process. The appropriate cleaning method depends on the surface.
Should I sand walls before painting?
Sanding may be appropriate for smoothing repairs, reducing surface imperfections or preparing certain existing coatings. Not every wall needs to be sanded in exactly the same way.
Do I need to remove old paint before repainting?
Not necessarily. If the existing coating is sound and suitable, complete removal may not be required. Loose, peeling or failing paint may need to be removed before repainting.
Should I fill holes before painting?
Yes, suitable holes and imperfections should generally be repaired and appropriately smoothed before applying the finish coating.
How do I prepare a wall with peeling paint?
Loose or peeling paint may need to be carefully removed. The surface should then be assessed, repaired and prepared before applying a new coating.
Should I paint over cracks?
It depends on the type and condition of the crack. Suitable surface cracks may require filling and preparation first. Larger, recurring or concerning cracks should be investigated.